Puffy eyes in the morning feel like a fixed fact of life for a lot of people. You sleep, you wake up, and the area under your eyes looks swollen and darker than the rest of your face. You wait for it to go away, and sometimes it does, but sometimes it lingers into the afternoon. If that sounds familiar, the problem usually is not one big thing. It is a combination of fluid retention, thin skin that shows blood vessel congestion easily, and a routine that does not actively address either one.
This guide walks through a practical morning routine for reducing under-eye puffiness and dark circles, step by step. The recommended product is CeraVe Eye Repair Cream, which has 73,508 reviews on Amazon and a 4.3-star rating. It is not a luxury eye cream and it does not make any dramatic claims. What it does is combine hyaluronic acid, niacinamide, and ceramides in a formula gentle enough for daily twice-daily use around the eye. We will get into why those ingredients matter in Step 3.
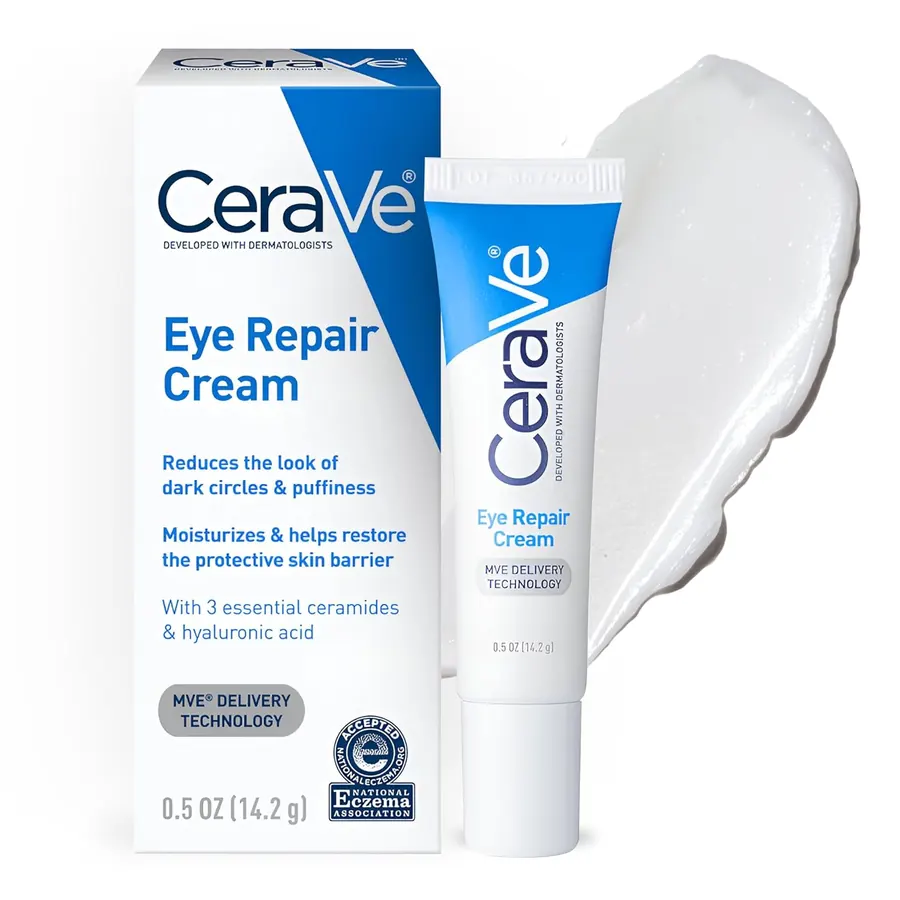
Your under-eye area needs something different than your regular moisturizer. Here is why CeraVe Eye Repair Cream is the right starting point.
CeraVe Eye Repair Cream uses hyaluronic acid, niacinamide, and three essential ceramides, all formulated for the thinner, more sensitive skin directly under the eye. Oil-free, fragrance-free, and under $15.
Amazon Check Today's Price on Amazon →Step 1: Start with a Gentle Cleanser and Cold Water Rinse
Before you apply anything to the eye area, your skin needs to be clean and cool. Morning puffiness is largely caused by fluid that settled in the tissue overnight while you were lying flat. A cold water rinse after cleansing helps constrict blood vessels and move some of that fluid along. The temperature matters here. Warm or hot water on a puffy eye tends to make the swelling worse, not better.
Do not scrub the eye area when washing your face. The skin there is around 0.5mm thick, which is much thinner than the rest of your face. Use your fingertips to cleanse around it, not over it, and let the rinse water do the work. After cleansing, pat your face dry with a clean towel. Do not rub. Then splash cold water around your eye area once more and pat dry again. This two-step temperature approach takes about thirty seconds and sets up everything that follows.
If you want to speed things up on mornings when puffiness is pronounced, place two metal spoons in the freezer the night before. After the cold water rinse, hold the back of a cold spoon against each under-eye area for about thirty seconds per side. This is an old trick that still works because it combines cold temperature with gentle pressure, both of which help push pooled fluid back into circulation.
Step 2: Apply a Lightweight Toner or Hydrating Mist (Optional but Helpful)
This step is optional, but it makes a real difference in how well your eye cream absorbs. A toner or hydrating mist applied to slightly damp skin helps pull subsequent layers deeper into the skin. If you already use a toner in your routine, apply it now across your whole face, including a light pass around the eye area. If your toner contains exfoliating acids like glycolic or salicylic, skip it near the eye. Those acids are too strong for that tissue and can cause stinging or irritation.
A simple option: dampen a cotton pad with plain water or an alcohol-free hydrating toner and press it gently under each eye for five seconds. You are not wiping, just pressing. The goal is slightly damp skin under your eye before the cream goes on. Damp skin absorbs hyaluronic acid better than dry skin because hyaluronic acid works by binding to available water molecules in the surface layers.
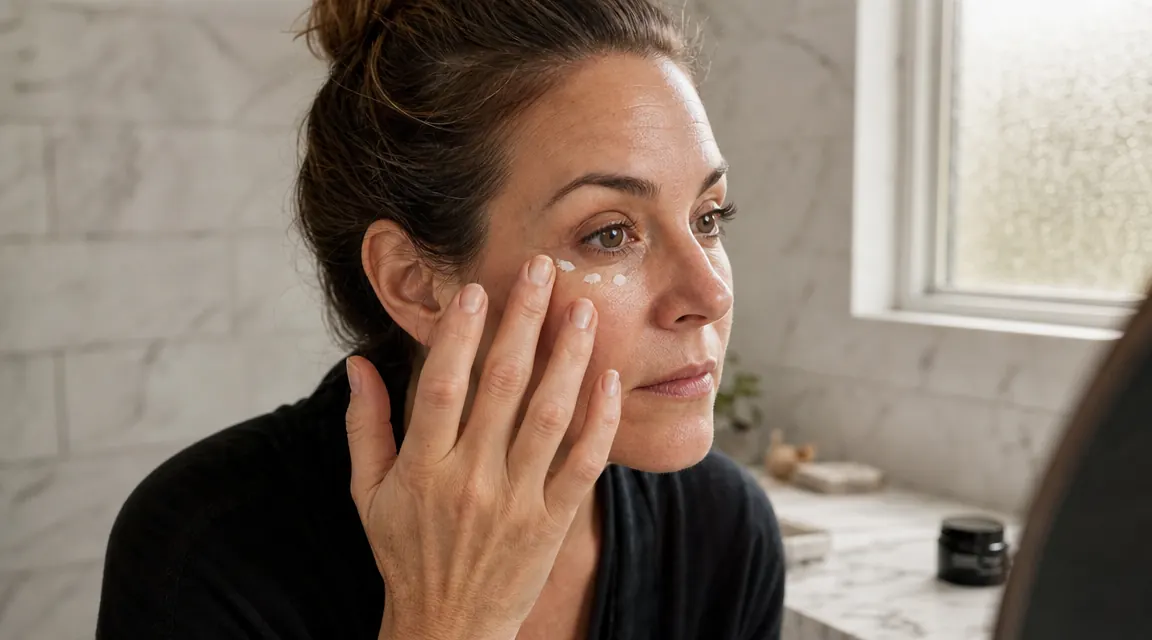
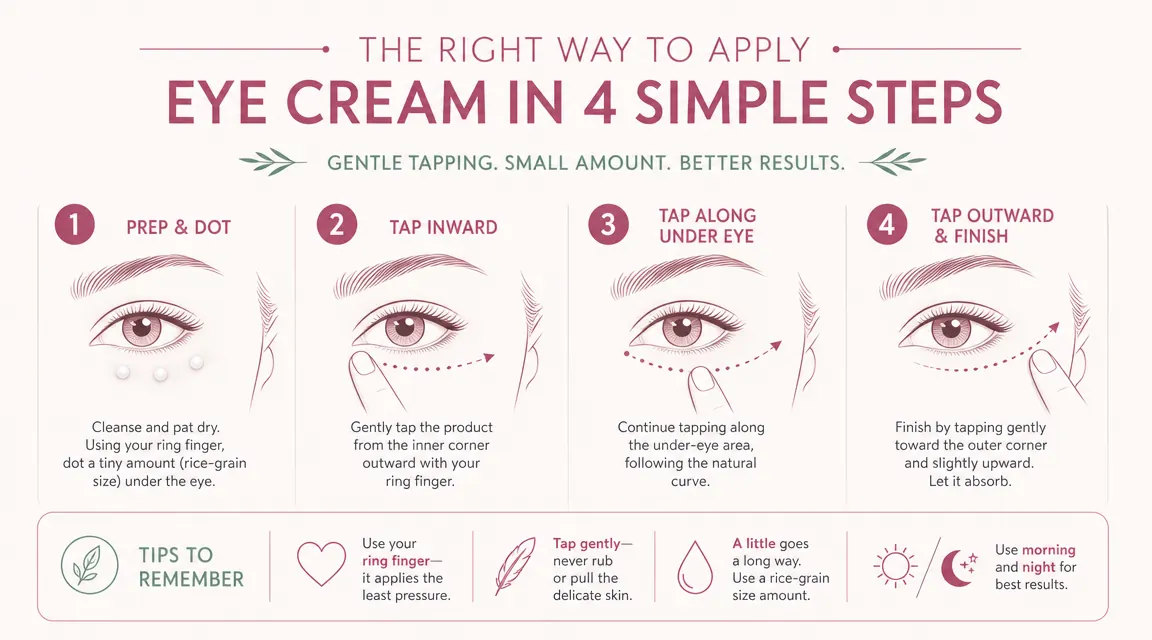
Step 3: Dot on CeraVe Eye Repair Cream Using Your Ring Finger
This is the core step. Take a very small amount of CeraVe Eye Repair Cream, about the size of a grain of rice per eye, onto the tip of your ring finger. The ring finger is the choice here because it naturally applies less pressure than your index or middle finger. The under-eye skin does not need pressure. Pressure can actually make puffiness worse by increasing blood vessel congestion.
Starting at the inner corner of the eye, just below the tear duct, gently tap the cream along the orbital bone following the curve under your eye and out toward the temple. Do not apply it directly on the eyelid or right up against the lash line. You want to stay on the bony ridge below the eye socket. Warmth from your fingertip will help the cream absorb without tugging. Tap, do not swipe. Six to eight taps per pass is usually enough to distribute a rice-grain portion evenly.
CeraVe Eye Repair Cream contains three essential ceramides (ceramide 1, 3, and 6-II) that help reinforce the skin barrier in that area, plus hyaluronic acid to draw in moisture and niacinamide to address discoloration over time. The niacinamide is relevant to dark circles specifically because it helps interrupt the process by which blood vessel leakage shows through the skin as bluish-purple pigmentation. If you want more detail on why these ingredients work for the under-eye area specifically, the 10 reasons eye cream reduces puffiness breakdown covers each mechanism.
Step 4: Let the Cream Fully Absorb Before Applying Anything Else
After applying the eye cream, wait at least 60 seconds before layering anything else. This is the step most people skip, and skipping it is why their eye cream seems to pill, fade, or simply not work as well. Eye cream formulas are typically lighter than facial moisturizers, but they still need time to settle into the skin before you apply something heavier on top. If you apply foundation or concealer immediately after tapping in the cream, you are essentially dragging the cream off the skin surface before it has done anything.
Use this 60 seconds to apply the rest of your serum across your face, or simply wait. You do not need a timer. Just finish applying any serums, then come back to the eye area. By the time you are done with your face, the eye cream has had enough time to absorb. When you touch the under-eye area with your fingertip and it no longer feels tacky, it is ready for the next layer.
Step 5: Layer Your Moisturizer Around (Not Over) the Eye Area
Most facial moisturizers are formulated for the thicker skin on your forehead, cheeks, and chin. They often contain heavier emollients or occlusive agents that sit on the surface and can cause milia (small white cysts) or congestion when applied directly under the eye. After your eye cream has absorbed, apply your regular moisturizer from the cheekbones down, keeping it a centimeter or so away from the immediate under-eye zone.
The eye cream you already applied will provide the hydration that area needs. You do not need to overlap with your facial moisturizer. This separation sounds minor but it matters particularly for people who notice small white bumps or congestion appearing under their eyes. In many cases, the cause is a regular moisturizer creeping too close to the eye area with ingredients that block those thin pores.
The ring finger applies the least pressure of any finger. That one change in technique makes a real difference when you are working on skin that is less than half a millimeter thick.
What Else Helps
Consistent eye cream use handles the skincare side of the equation. But puffiness and dark circles also have lifestyle drivers that no topical product fully overrides. Sleeping with your head slightly elevated reduces the amount of fluid that pools overnight, which means less puffiness to address in the morning. A second pillow or a wedge pillow under your current pillow is enough. You do not need a completely different sleep setup.
Salt intake is a direct driver of fluid retention. If you eat a high-sodium dinner and wake up looking puffier than usual, that is not a coincidence. Reducing sodium in evening meals, especially late meals, makes a measurable difference for a lot of people within a few days. Alcohol has a similar effect, partly from dehydration and partly from the way it disrupts sleep quality, which affects skin recovery overnight.
For dark circles specifically, sun protection is the factor most people overlook. The melanin response in under-eye skin can be triggered by UV exposure the same way it causes hyperpigmentation elsewhere on the face. Applying a mineral sunscreen to the under-eye area as the last step of your morning routine, after your eye cream has absorbed, helps prevent that darkening from worsening. Many people are consistent about SPF on their cheeks and forehead but forget the lower eyelid.
If you are curious whether a dedicated eye cream makes a real difference compared to a regular moisturizer in that area, the CeraVe Eye Repair Cream long-term review covers four months of consistent use, including what changed and what did not.

CeraVe Eye Repair Cream is the easiest entry point for this routine, and it is well under $15. Here is where to check current pricing.
With 73,508 Amazon reviews and a formula built specifically for the thin skin under the eye, CeraVe Eye Repair Cream earns its place as a starting product for reducing puffiness and dark circles. Oil-free, fragrance-free, and suitable for daily use.
Amazon Check Today's Price on Amazon →